cuteblogbg

Monday, March 26, 2012

Apple Blossom Wreath DIY

I've been wanting a spring wreath to hang on the front door for a while now, and I've seen pretty ones at Pier1 and other places that tempt me.  I made a trip to Michael's today, always a dangerous thing, and I was inspired to try my hand at making my own.

The ingredients:
- 1 pre-made grapevine wreath
- 1 apple blossom garland
- 1 roll of sparkly sage green open-weave ribbon

I thought this was going to be a five minute project.  I thought to myself, "I'll just wrap the garland around the wreath, stick a bow on it and call it done!"  That was overly optimistic, because what happens when you do that is this:
I'm pretty sure that a two year old could have done better.  So on to the next attempt.

I began by plucking individual flowers off the garland, but it became quickly apparent that method was going to require the hot glue gun, stat!


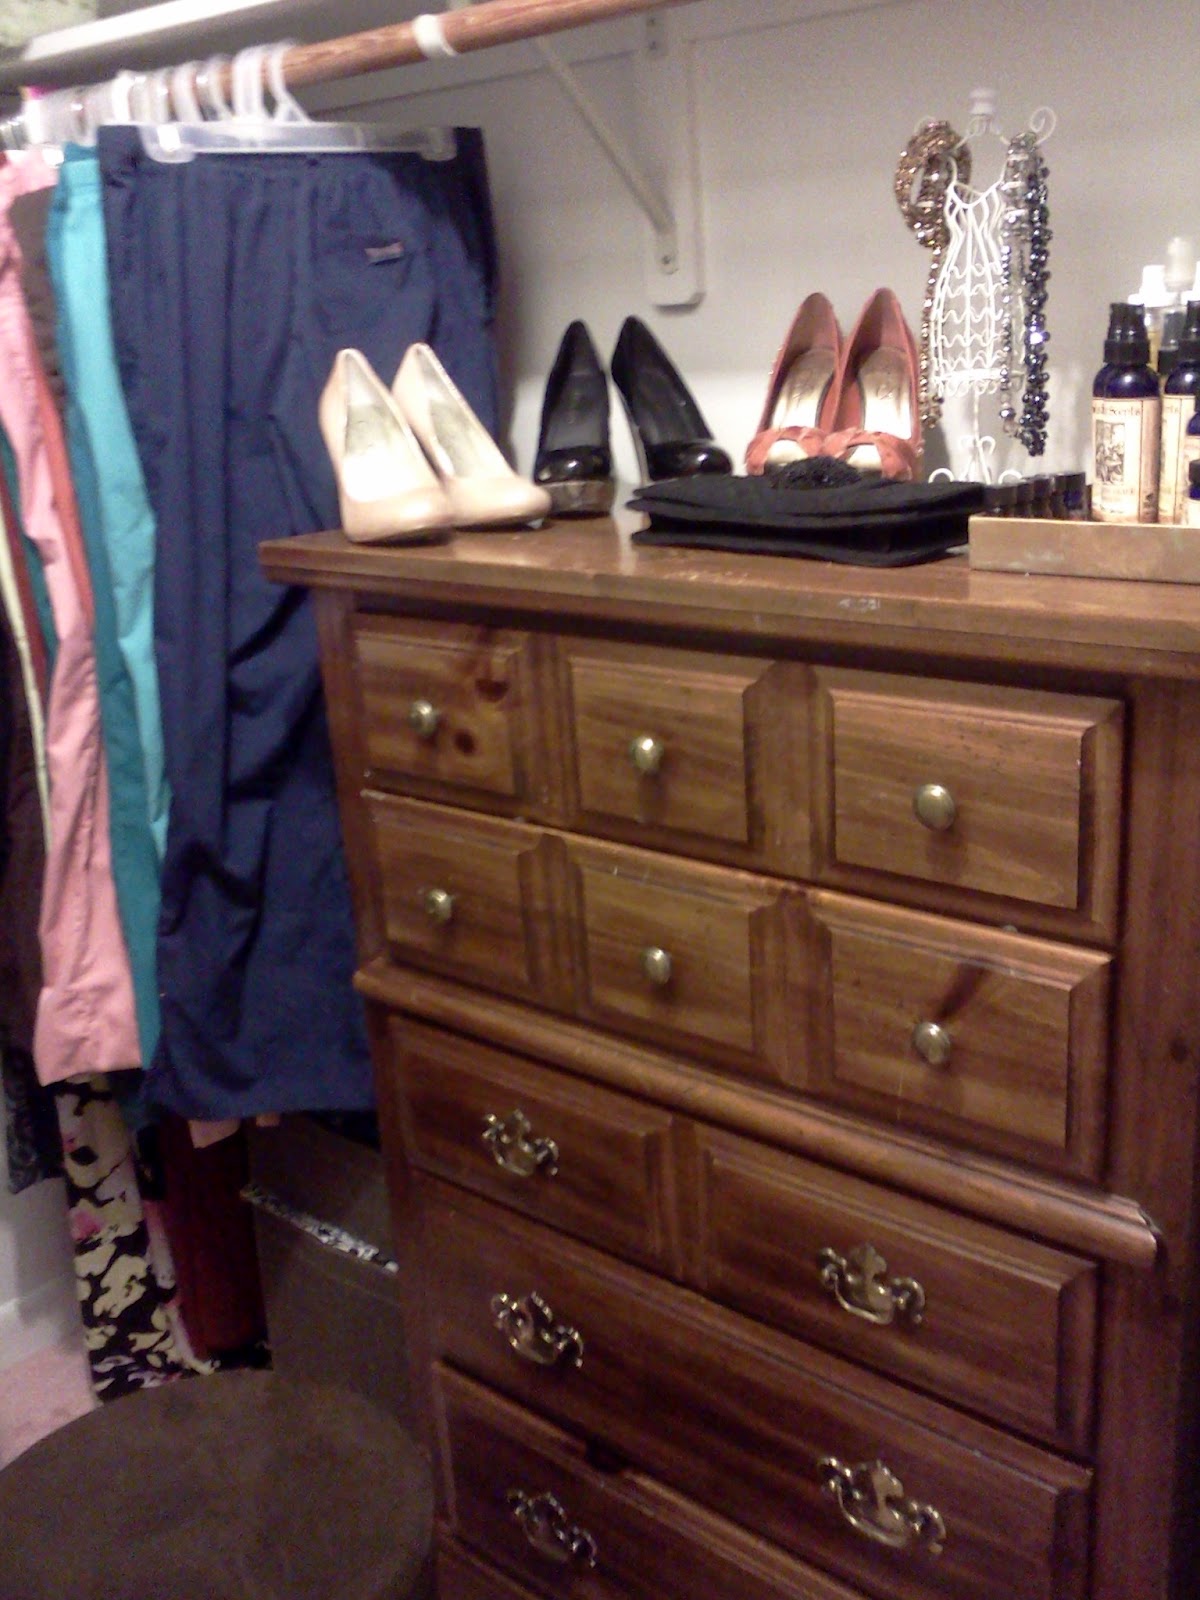
Unfortunately, the hot glue gun is buried at the bottom of my craft closet.  I do believe my next project is cleaning and organizing said craft closet, by the way... So I scrapped the idea of gluing individual flowers on, and instead dissected the garland into smaller pieces.  They were about this big:


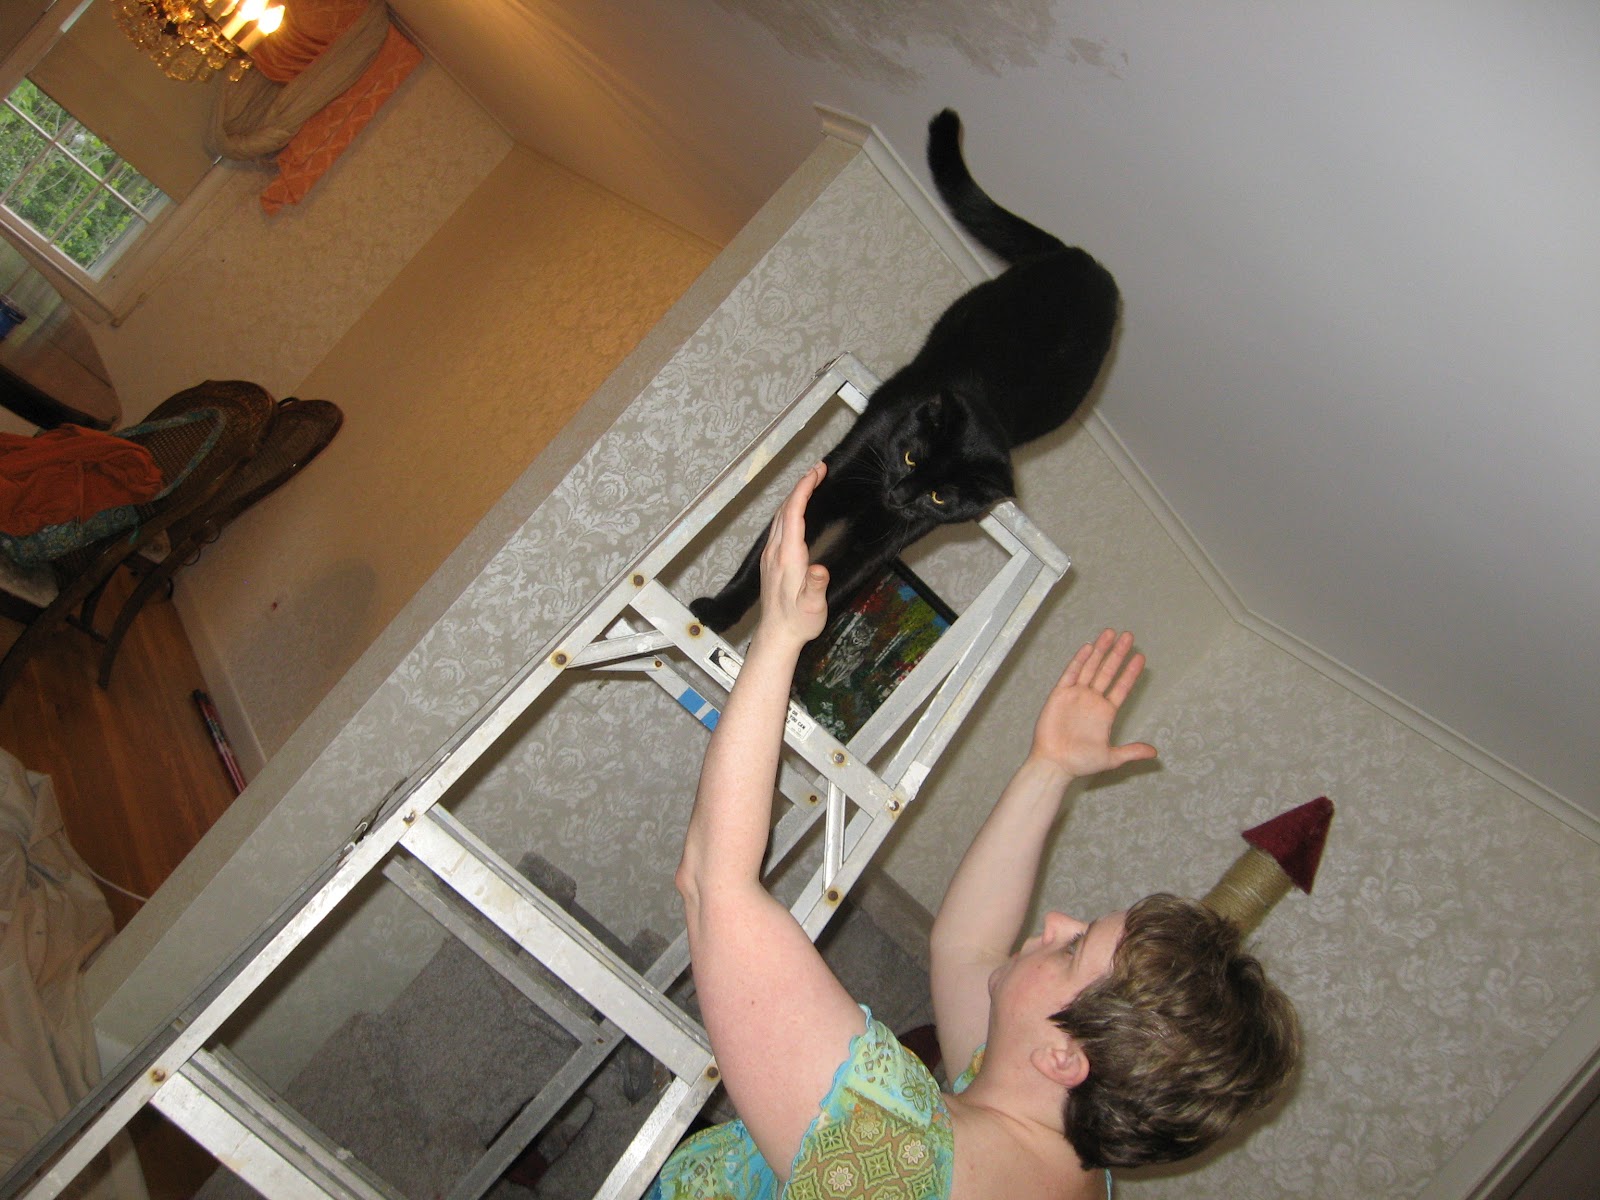
I worked my way around the wreath, tucking the bottom of each piece deep into the wreath and then weaving the flowers through the twisted vines to keep them in place.  My wreath shed a lot of twigs and crud onto the floor, so if I were to do this in the future, I'd probably put down a drop cloth or, you know, make the wreath on a table.  And let's not forget that I had a helper...


Once I got all the flowers tucked in, I was left with this:


I was then left to deal with the bow.  I'm usually pretty good at making bows.  With normal ribbon.  This open weave "ribbon" was a challenge, though.  I started out making a bow with the help of my good friend, the red Swingline stapler.  I quickly discovered that the open weave meant that the staples would hold only some of the strands, but the rest would go wonky fast... and then it started fraying at the edges.  I finally just tried tying a bow, then taking another piece of ribbon and tying it around the wreath.  My cats have left prettier looking things in their litter boxes.

I was frustrated, at this point, so got my scissors and just cut the piece I'd tied and pulled it off.  And then I looked at it, and it actually looked kinda cool.  So I tied on another piece of ribbon, and futzed with it for a few minutes and came up with this:


So, here's the final wreath!  I'm happy with it.  It was getting dark out by the time I finished, so this is the best picture I could get.


Meanwhile, Willow's looking forward to our next afternoon craft-time...


And why, you may ask, am I linking this to so many blog parties?  Because it's fun!  :-D  If you're here, I encourage you to leave a comment.  They inevitably make me smile.

Wednesday, March 21, 2012

Color inspiration: Purr tones for guest room?

So, I've found a website that's a little like crack, if you're into color and pretty photography.  It's called Design Seeds, and I love that you can search by color/similar colors, theme (autumn, animal, floral).  I found this image and fell in love with the color scheme (and who am I kidding?  The photo too.):


I think it'd be a nice, soothing combination to use in my guest room, so I've been poking around and looking for items that could be used.


Source: westelm.com via Kelly on Pinterest


Pretty bedding from West Elm.
Paint colors from Sherwin Williams.


How about these lights?  The room would need two.


Perhaps a chair to settle in?


or maybe a graphic poof!

Source: etsy.com via Kelly on Pinterest


A rug would be lovely underfoot...


What about some romantic ruffled curtains, to bring the rose color in?


Perhaps some purr-themed art:

Source: etsy.com via Kelly on Pinterest


Source: etsy.com via Kelly on Pinterest


Source: etsy.com via Kelly on Pinterest


(This last one is actually a painting of my kitty Willow.)

Non kitty themed art:

Source: etsy.com via Kelly on Pinterest


Source: etsy.com via Kelly on Pinterest


Source: etsy.com via Kelly on Pinterest


I'm sure I'll have more thoughts later...

Link party here!

Sunday, March 18, 2012

There's tiger blood in my veins...

Oh, Charlie Sheen.  Whatever happened to you, after your immensely entertaining (and somewhat sad) tailspin and tour?  Though, really, this post has nothing to do with Charlie Sheen, Hollywood or even wild binges.  We're far more boring here at the Handyverger home.  The highlight of my weekend was tearing up the pink monstrosity in the master bedroom and exposing glorious, glowing hardwood underneath.  Expect a post on that soon, but for now, I wanted to show you the joys of Rub N Buff.

The wonderful Sammy at Renew Redo has a thing for it, and it's thanks to her that I actually bought some at Michael's a couple weeks ago and played around with it.  Tiffany has perfected the technique of coating entire pieces of furniture with the stuff, but since I didn't want to go the highly volatile compound route (I'm pretty sure they contain things like toluene), with an asthmatic husband and an asthmatic cat around, I just played around with it on a small scale.

The first project I tried with Rub N Buff was a bird that I found at Michael's, along with Rub N Buff from the very same.  The bird started its life out as pure white, shiny ceramic, and using Grecian Gold and Patina Rub N Buff, I transformed him into this:


I had expected more of a solid color finish, but instead, I ended up with a very pretty shabby chic .. chick.  The gold has a very pretty shimmer to it, when the light hits it.

The next project was a larger pitcher.  Same material, on clearance at Michael's.  


In the detail, the gold really comes out - I love the area in the center, where it's almost iridescent.  This one is worth clicking on to enlarge.

Finally, I played around with turning some plastic children's animals into something shiny, inspired by all the funky brightly painted animals I'm seeing around lately.

Enlarge this one - gorgeous sheen on his little nose.  No Charlie Sheen pun intended, there.


As you can see, the cats like to help.  This is why this project was done in a well-ventilated basement area, with the door shut and cats locked OUT!  Getting the tiger to be a uniform color was particularly challenging, since rubbing the Rub N Buff into the tiny crevices took a lot of finesse and generous application of Rub N Buff.  

Finally, and this is sort of my favorite of the projects, since I adore rats, are plastic Halloween rats turned into glam ratues.  Yes.  I just made up a word for a statue of a rat.  I'll put them after the jump, in case rats gross you out.

Saturday, March 17, 2012

Caturday: Mama's little helpers

The husband and I are about to undertake a substantial project - ripping up the carpet in half of our bedroom.  Why half?  One half of our bedroom has stunning hardwood underneath it, while the other is part of an addition the former owners made to the house.  Instead of adding matching hardwood to this half, it was left as a plywood subfloor and covered with the pink monstrosity of a carpet that I've mentioned before.  Insert much grumbling from me about covering beautiful hardwood.

So, today, we rip up the half over the hardwood to see what we've got.  Maybe I'm an optimist, but the hardwood in the rest of the house is in such great shape, I'm hopeful that this is too. We're going to put down an edging at the transition from carpet to hardwood, temporarily - and then after that?  Hopefully a stunning stenciled floor until we can afford to have matching hardwood laid.  I know it's probably cheaper than we think, but we just had major veterinary bills in an attempt to save the life of our beloved (late) kitty Pippin.

But what does this have to do with Caturday?  Well, we can't seem to accomplish any home improvement project without the supervision and assistance of our little fur tribe.  Case in point:

Karma helps us build our kitty castle.  This is a very large, castle-shaped scratching post that my husband and his father made from scratch for them. It was their first real father/son project involving power tools

Pippin helps supervision with the very same. It's just not going to be the same doing a home improvement project without him.  Miss you, Pip.


Strider helps supervise patching the ceiling. We had some water damage from an air conditioner incident. 


"Would you just get down already so we can get back to work?"


I'm sure we'll have lots of help this weekend.  I hope to take photos of the various stages of deconstruction and revealing the floor.  Don't be surprised if the fur tribe guests in them.

Do your pets love to help with projects?  For that matter, do your kids?

Thursday, March 15, 2012

Walk-in Closet Fun

I wonder if I'm the only person that this happens to - I start one project, and it leads to a dozen others.  It all started out as cleaning out my closet to donate some clothing to Goodwill.  This set off a chain reaction.

Cleaning out the closet led to rearranging the closet, which then led to making my closet pretty.  I've been seeing pictures of closets that are entire rooms (damn you, Pinterest), and although my closet will never qualify as a room, I've decided to take some inspiration from Pinterest and bloggers and at least make mine something that I enjoy looking at.  My inspiration?


It's a bit too pink, but I love the wall of shoes and how unified everything looks.


The blue-gray here is gorgeous, and it's so girly without being uber-pink.  Love it.  Impressive, Centsational Girl!


Finally, this closet is from Real Simple.  My favorite part of this one is the light.  What a fun touch!

So, that being said, I've set out to make my closet pretty.  The first step was cleaning out the clothing I never wear, and that's been packed up and sent off to Goodwill.   Then, I moved (with the help of the husband) my dresser into my closet, freeing up some floor space in the bedroom, and giving me some much needed drawer space in the closet itself.   A seldom-used filing cabinet migrated from my office to the closet, and a pair of drawers from Target sits atop it.


The Target drawers on top, filing cabinet on bottom.  The filing cabinet has fantastic, deep drawers; I'm using the top one to store my t-shirts, and the bottom one to store scrub tops I don't wear very often.

The top of the dresser, instead of having random crap on it, like it did when it was out in the bedroom, now houses some of my favorite shoes, some sparkly jewelry and some of my favorite Solstice Scents body sprays.  Pretty!  You can see my scrub pants and dresses hanging to the left of the dresser.

The next step was clearing off the built-in shelves on the left side of the closet; these now house my  sweaters & fleece shirts, as well as some of my purses near the bottom.
See the white thing dangling?  Not very neat.  Oops! 

I then mounted hooks on the right side of the shelves to hold my scarves and light-weight dressy wraps, and you'll see a few more things hung on a hook to the left and in front of the shelves.   I added more of the same hooks on the opposite side of my closet, which now hold my sparkly purses & clutches.  I used Command removable hooks, which are just amazing!  So far, they seem to be holding up well, and the one I removed didn't take any paint with it.  I should note, though, that they're not recommended for surfaces with wallpaper.
What's the point of having shiny things if you don't get to look at them?  Also, see that basket right under the purses with socks draping out of it?  That's the home of mismatched socks.  I honestly have no idea where my socks go, but I'm finding that if I leave the mismatches out where I can see them, I am far more likely to actually find their missing mate and reunite them.


I was able to use the shelves above the dresser to store some of our linens.  When I was trying to place them neatly on the shelves, I brought a stool/storage ottoman into the closet to stand on.  Much to my surprise, I have found that I love having a little place to sit in my closet.  It reduces the amount of hopping up and down on one foot trying to get my socks on.  Oh, wait... you mean I'm the only one who does that?

See the ottoman?  It makes me absurdly happy.

Naturally, just because things are reorganized and prettier doesn't mean I'm quite done.   The rest of the plan includes:
- Stenciling at least one wall with this whimsical cat stencil.  It makes me laugh, and what better way to start out the day?  
- Painting the background of the built-in shelves with some obnoxiously bright color.  Plum?  Tangerine tango?  (It's the pantone color of the year, I do believe.)
- Removing the obnoxious sliding doors and replacing them with a curtain. Gasp!  
- Replacing the bare light bulb with a new fixture.  I'm thinking a little chandelier would be delicious, like this one - but it's a bit pricey, especially for a closet!  Still, a girl can dream.
- Repainting the drawers in the closet to match.  For some reason, I cannot get the notion of kelly green dressers out of my head, here.   I just don't know if it'll go with the color scheme for the rest of the bedroom (see previous post: plums, magenta, gold and tangerine), but it's worth thinking about.  I may leave the big dresser as-is, but we'll see.
- Removing the carpet along with the rest in the bedroom (it's one continuous blob of Barbie pink), and replacing it with a stenciled floor, akin to this:
Source: lovelyetc.com via Kelly on Pinterest


And let's not forget, it was the closet reorg that inspired the bedroom reorg!  I tell you, it's like a nuclear reactor up in here!  Except with less radiation sickness.  Thankfully.  

This weekend?  Tearing up half the pink monstrosity that is masquerading as a carpet in the master bedroom.  Wish me luck!